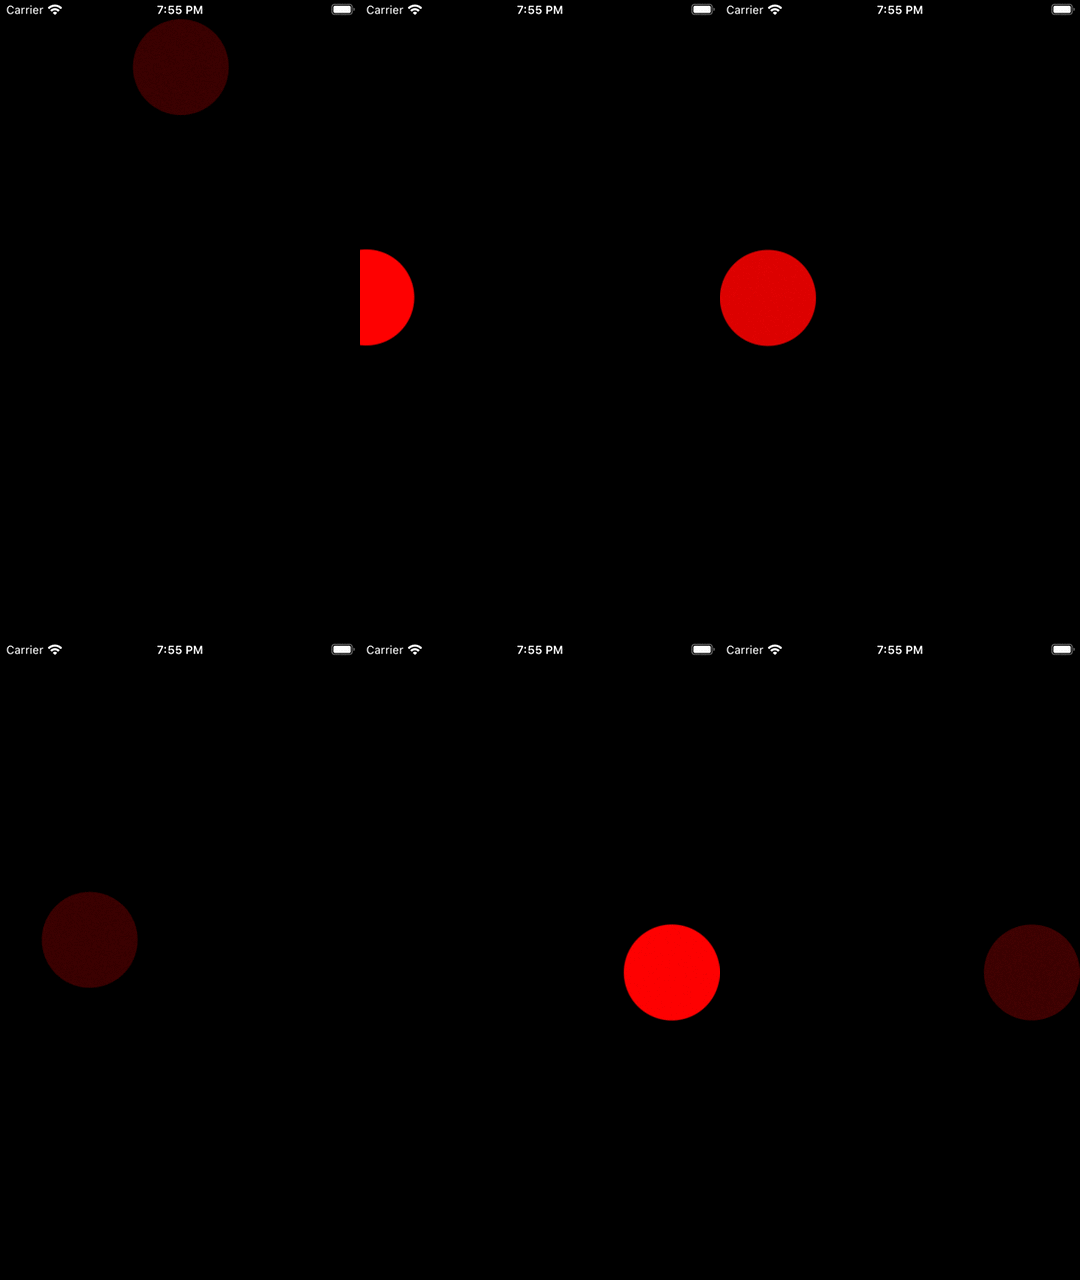
Draggable Views

The background on this iis that in my day job, we are currently implementing new versions of our app’s shopping trolley. One concern in my mind was for it to take as little screen real estate as possible for those on smaller devices like the SE.
I thought of a floating basket that when tapped would potentially show a modal view with the trolley’s contents.
The code
Start with a simple UIButton that will be the draggable view:
private let shoppingCartButton: UIButton = {
    let button = UIButton()
    button.translatesAutoresizingMaskIntoConstraints = false
    button.backgroundColor = .red
    button.layer.cornerRadius = 50
    return button
}()
You’ll need to add that to your view controller’s hierarchy, perhaps as a subview of view, using view.addSubView(). For this demo, I chose to constrain it to the center of the view’s x and y axis.
Recognizing the view being dragged
In order to drag that view, we need a gensture recognizer. For this, we’re going to use a UIPanGestureRecognizer to recognize the dragging:
let panGesture = UIPanGestureRecognizer(target: self, action: #selector(panHandler))
shoppingCartButton.addGestureRecognizer(panGesture)
You’ll notice that the panGesture just created has a reference to a #selector(panHandler). This is an old Objective-C relic that is beyond the scope of this article. These selectors need to call an Objective-C method, like below. Notice the @objc annotation? That makes this available to Objective-C. Remove that, you’ll get a compile-time error 🚫
The method below is responsible for handling the drag and actually doing something in response to it:
@objc private func panHandler(gesture: UIPanGestureRecognizer) {
    let location = gesture.location(in: view) // 1

    guard let draggedView = gesture.view else { // 2
        return
    }

    draggedView.center = location // 3

    if gesture.state == .began { // 4
        draggingBeganOn(draggedView)
    }

    if gesture.state == .ended { // 5
        draggingEndedOn(draggedView)
    }
}
A break-down of above:
- Store the location of where the gesture happened in a local constant, for use later.
- Attempt to get the view which had the gesture performed on it.
returnif this fails. - Move the view to the gesture’s location
- If the gesture (dragging) has just started, call the
draggingBeganOn()method (defined below). - If the gesture (dragging) has just ended, call the
draggingEndedOn()method (defined below).
private func draggingEndedOn(_ draggedView: UIView) {
    let leadingEdgePosition = draggedView.center.x - draggedView.bounds.width / 2 // leading edge of dragged view
    let trailingEdgePosition = draggedView.center.x + draggedView.bounds.width / 2 // trailing edge of dragged view
    let topEdgePosition = draggedView.center.y - draggedView.bounds.height / 2 // top edge of dragged view
    let bottomEdgePosition = draggedView.center.y + draggedView.bounds.height / 2 // bottom edge of dragged view
    let safeArea = view.bounds.height - view.safeAreaLayoutGuide.layoutFrame.size.height // safe y co-ordinate to bounce the dragged view back to
    let viewHeight = draggedView.bounds.height
    let viewWidth = draggedView.bounds.width

    // set the new position to be the current
    // this will be applied later!
    var newCenter = draggedView.center // 1

    if leadingEdgePosition < 0 { // gone too far left?
        newCenter = CGPoint(x: viewWidth / 2, y: draggedView.center.y)

    } else if trailingEdgePosition > view.bounds.width { // gone too far right?
        newCenter = CGPoint(x: self.view.bounds.width - viewWidth / 2, y: draggedView.center.y)

    } else if topEdgePosition < safeArea { // gone too far up?
        newCenter = CGPoint(x: draggedView.center.x, y: (viewHeight / 2) + safeArea)

    } else if bottomEdgePosition > view.bounds.height { // gone too far down?
        newCenter = CGPoint(x: draggedView.center.x, y: self.view.bounds.height - viewHeight / 2)
    }

    // animate the view back fully onto the view
    // moveTo() is defined in an extension on UIView, below
    draggedView.moveTo(newCenter, animatingOver: 0.25, withDelay: 0.1)

    // make it almost disappear
    UIView.animate(withDuration: 1.0, delay: 1.0) {
        draggedView.alpha = 0.2
    }
}
Above: Set a variable with the draggedView’s resting place after the gesture ended.
Then the position is tested using the if statements for being off the screen’s edges, and if so, it’s nudged back to be fully on-screen.
For instance, if the view stops off-screen at the leading edge, it’s moved toward the trailing side by half of the draggedView’s width, so that it’s leading edge touches the screen’s leading edge again.
Extending UIView for the movement and animation
This extension is not entirely necessary, this code could live above in the draggingEndedOn() method, but I like keeping method like this available to all UIViews, so I tend to put things in extensions from the jump. This also makes this functionaliity more testable that storing it in a private method, or worse, a public one exposed solely for testing 🤮
extension UIView {
    // move the view to the new center with an animation
    func moveTo(_ center: CGPoint, animatingOver duration: TimeInterval, withDelay delay: TimeInterval) {
        UIView.animate(withDuration: duration, delay: delay, usingSpringWithDamping: 1.0, initialSpringVelocity: 1.0) {
            self.center = center
        }
    }
}